Installation
Basic Installation
At this point, you should have the following:
- Your terminal open to the hosting environment of your choice.
- Git, Node.js, and npm installed in this environment.
If you're missing one of those requirements, head back to the Environment Setup page. Also, if you need help at any point in this guide, please don't hesitate to join our Discord server!
Download Qbot
Run this command to download the latest version of Qbot from Github:
git clone https://github.com/LengoLabs/qbot.git
Next, navigate to the directory that Git just created:
cd qbot
Install npm dependencies
Run this command to install Qbot's dependency modules:
npm install -D
Because of unfixed bugs in certain packages Qbot depends on, run these commands next:
npm uninstall bloxy
npm install https://github.com/LengoLabs/bloxy.git
cd node_modules/bloxy
npm run build
cd ../..
npm install got@11.8.2
Initialize the database
Generate the Prisma database ORM and initialize your SQLite database with this command:
npx prisma migrate dev --schema ./src/database/schema.prisma --name init
Enter y if prompted to allow the installation of prisma. Data will be stored at the qbot/qbotdata.db path.
Creating your Discord Bot
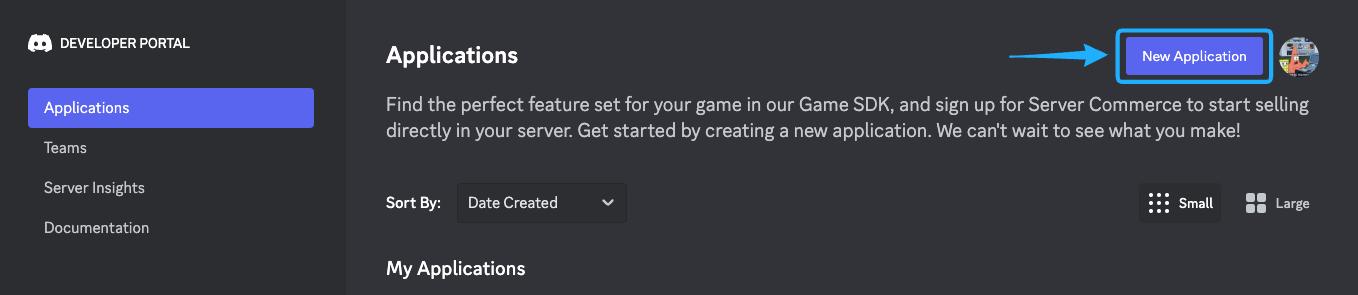
- Head to the Discord Developer Portal and login with your account.
- Create an application and set its username to whatever you want.
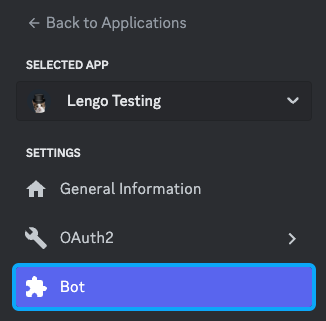
- Go to the Bot page in the application's settings.
- Generate a token for the bot and copy it to your clipboard.
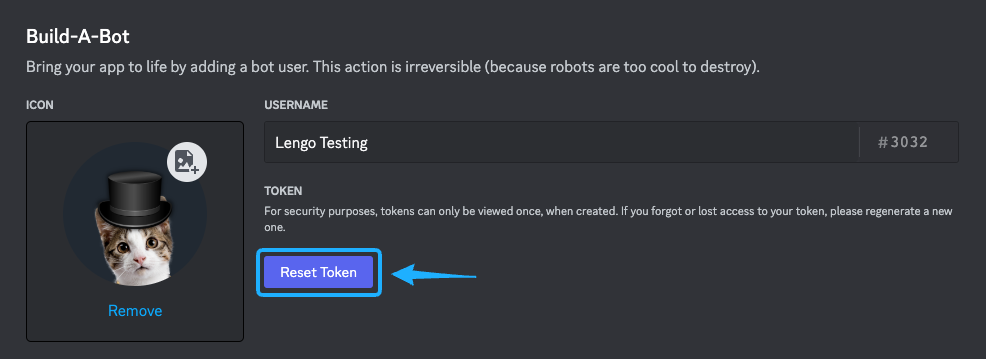

- Run this command, replacing
[value]with the token you copied:
echo "DISCORD_TOKEN=[value]" >> .env
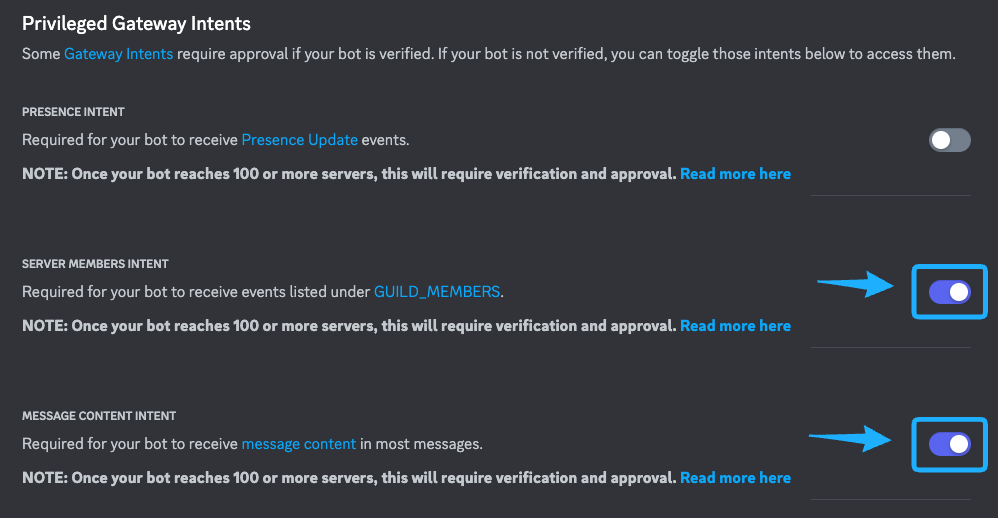
- Scroll down to Privileged Gateway Intents, and enable the Server Members and Message Content intents. Don't forget to save your changes.
Tokens should NEVER be shared
With your bot token in the wrong hands, someone could gain full access to your bot account and destroy servers or break Discord TOS. Tokens can also lead to getting partial access to the owner's account.
We will never ask you to send us your token. The code above saves your token in the VPS that only you should have access to, assuming you chose a trusted hosting platform and set it up correctly.
Creating your Roblox Bot account
Complete these steps on Chrome or Firefox if possible:
- Open an incognito/private window in your browser.
- Create an account for your bot at roblox.com.
- Join your group with the bot.
- Right click anywhere on the website and select
InspectorInspect Element.
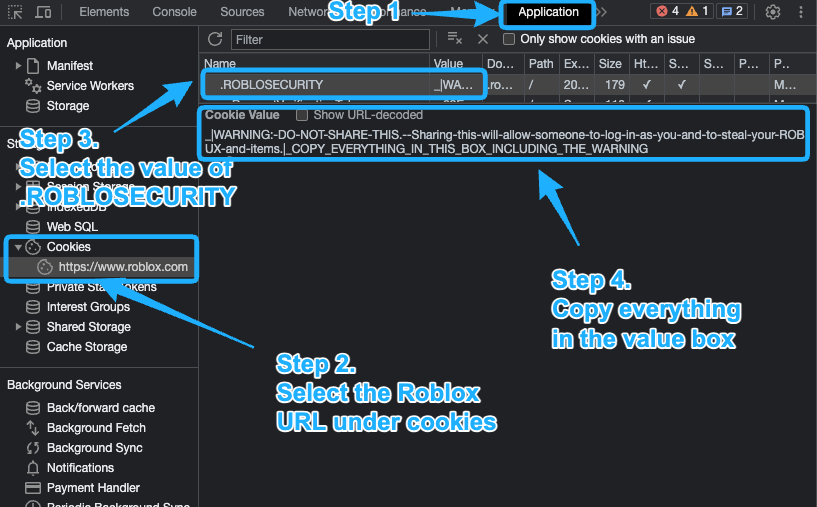
- Go to the Application tab of dev tools.
- Expand
Cookiesin the sidebar and selecthttps://www.roblox.com. - Find the cookie named
.ROBLOSECURITY. - Copy everything in its value to your clipboard.
- Run this command, replacing
[value]with the cookie value you copied:
echo "ROBLOX_COOKIE=[value]" >> .env
- Close the incognito window without logging out!
- If applicable, accept your bot's join request for the group.
Cookies should NEVER be shared
With your bot cookie in the wrong hands, someone could gain full access to your bot account and destroy groups or break Roblox TOS.
We will never ask you to send us your cookie. The code above saves your cookie in the VPS that only you should have access to, assuming you chose a trusted hosting platform and set it up correctly.
Visual guide to copying the cookie once in dev tools:
Set the Group ID
- Go to your group's page and copy the numbers after
groups/in the URL.
- Open your configuration file with
nano src/config.ts. - Search for the groupId field with
Ctrl+W, then typegroupId, then press enter. - Replace the
0placeholder on that line with the copied numbers. - Press
Ctrl+X, theny, then press enter.
Start the bot process
Run the command below to get your bot running in the background:
pm2 start npm --name "qbot" -- start
Then, run this command to save your PM2 configuration if the server restarts:
pm2 save
You're all done!
🎉 Congrats! Time to start customizing your bot! Check out all of the options under Customization in the sidebar, or start with something basic like permissions.
You can also begin by running /help to see a list of commands!